Call us:
(419) 873-8300
If you are tired of your rope ends becoming frayed after only a few uses, one of the many variations of end whips could easily solve your problem. An end whip is a knot created by wrapping smaller twine tightly around the end of your rope to secure and protect it. These knots range in difficulty and appearance, but all achieve the same end result. Different rope constructions require slightly different whipping techniques, but some whips can be applied across the board. Let’s talk about the right whips for you.
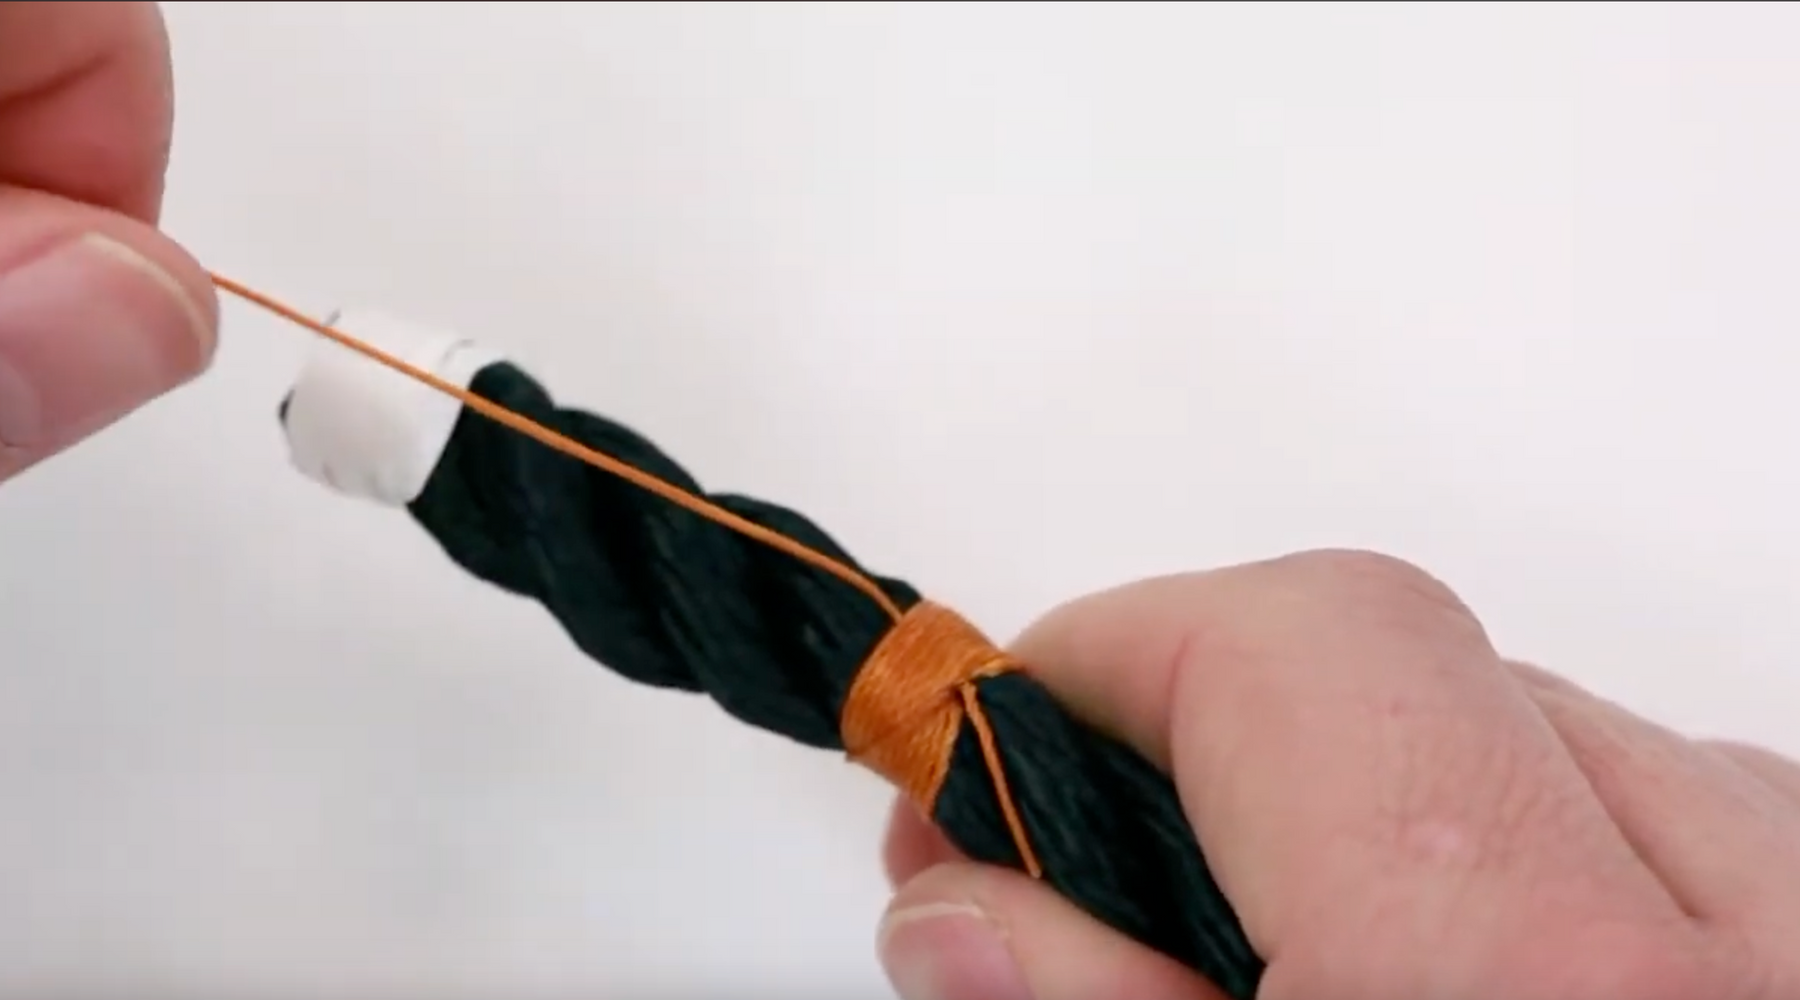
The simplest variation of whips is called, well, the simple whip, of course. This whip can be applied to any rope and requires the least amount of time and twine; however, it is the weakest whip by far. To whip a ½” rope, get yourself about 2’ of twine (use a waxed twine for a waterproof whip), and face the ends toward each other, slightly overlapping. Cross one line over the other creating a basic hitch and continue to wrap around the end until you are almost out of twine. Hold your wraps in place and pull tight on the strand you originally crossed over. Trim the excess and your simple whip is complete. This technique is great if you have to do a lot of whips on a time crunch, or if you just need a temporary fix on your line.
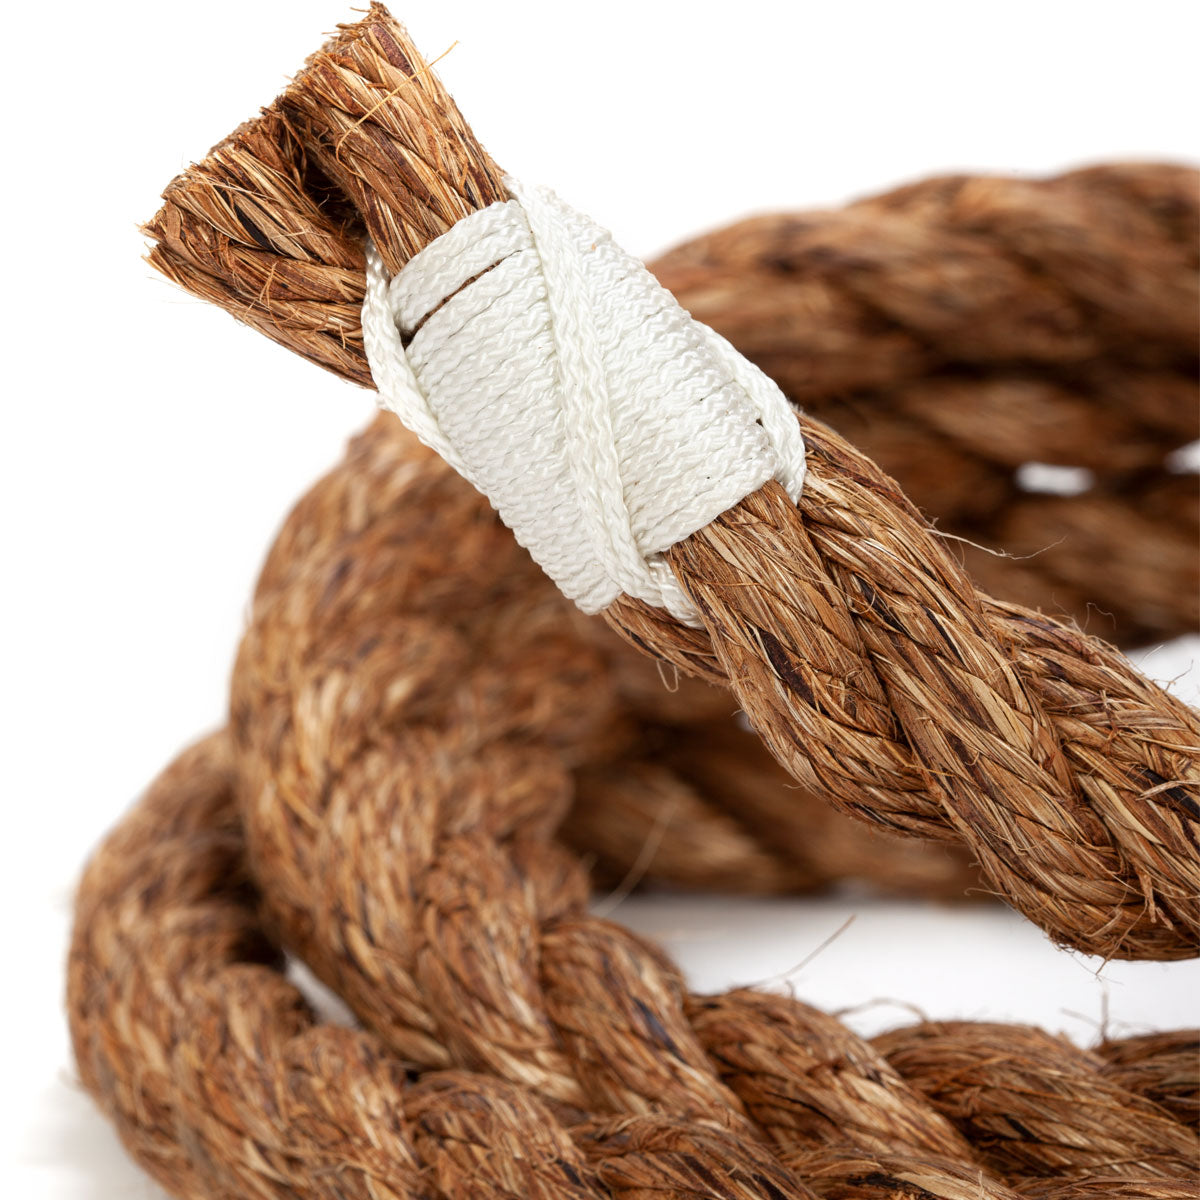
The 3-strand end whip is a more permanent method. This knot will require about 3 times as much twine, a sailor’s palm, and a sewing needle. For larger diameter ropes, you may want to consider thicker twine and in turn, a larger needle. This is only a matter of preference. For a ½” line, gather roughly 6’ of twine. Thread your twine through the needle until you have 2 even ends, tie an overhand knot to join them. About one needle length in from the end of your 3-strand rope, open the strands and insert the needle into the back strand using the sailors palm, pull all the way through until the knot is tucked inside. Wrap your doubled-up twine tightly down the rope until you are left with about a foot of twine. Now, to secure your wraps, using the sailor’s palm again, insert the needle between the strands and follow the twist, open the rope near where you did the first time and drop the need through. Pull the twine tight and repeat on all three strands, tracing the valleys between them. Once you have made it all the way around, tie an overhand knot capturing the twine from your first valley. Open the strands and insert the needle through the back strand a final time. Trim the excess and pat yourself on the back, you just saved that rope’s life!

Whipping a double braid rope is extremely similar to 3-strand. The main difference being that braided rope doesn’t have strands to be separated, so you will just be pushing the needle through the entire rope 3 or 4 times to secure your wraps. Everything else in the process is identical. Double braid can be rather tight sometimes so you may need to use pliers to pull the needle completely through. I know you know this, but please be careful. Needles do not care about you and they will bite. Since double braid ropes are completely synthetic, you can also opt out of the whip and finish the end with a hot knife or lighter to melt the fibers together. This can be done to synthetic 3-strand ropes as well.
The world of decorative whips surpasses all other categories in complexity and beauty. This is where creative meets utilitarian. Hitches and stitches can be combined in countless ways to terminate your rope, look into these for a unique way to secure your strands: The Loop Knot, Uncommon Whipping, Turk’s Head Knot, Crossing Knot, The Corkscrew Bat Knot, or Ribstitch Hitching. These are just some of my favorites and I’m sure some of them will catch your eye, at the very least they will secure the end of your rope. Choose wisely and whip it good!

Knot & Rope Supply