Call us:
(419) 873-8300
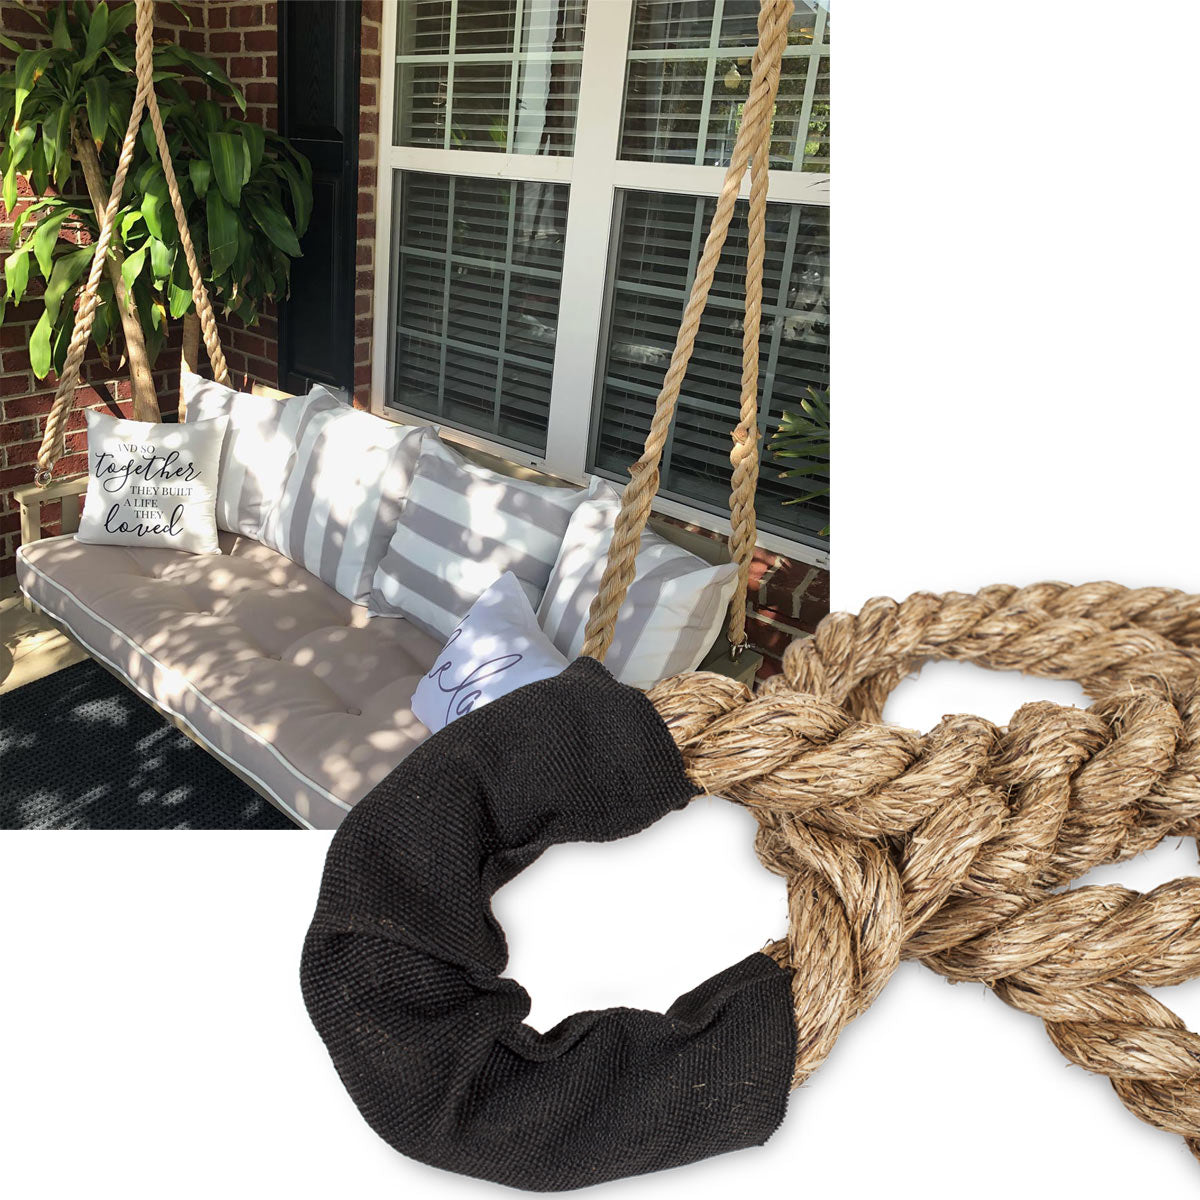
At some point in your life, it is likely that you have had to attach a rope to something. During this process you probably tried an assortment of knots to make a loop, which may leave you with an undesirable result. Tying a knot in your rope will decrease its strength by more than 50% so what is one to do when they are in need of a permanent fixed loop without sacrificing strength? Eye splice to the rescue!

An eye splice holds its shape indefinitely due to the process in which it is created. In all splices, the rope is deconstructed or untwisted at the end, then braided or inserted back into itself creating a loop or “eye”. As you know, not all ropes are the same, meaning not all ropes splice the same. There are a few kinds of rope that cannot be spliced at all and the eye must be stitched in place by an industrial strength sewing machine. Any rope with a solid braid construction fits into this “unspliceable” category, along with ropes made with a parallel core known as static lines. These lines have virtually no stretch and a nearly impenetrable jacket making them impossible to splice.
3-Strand, 8-Strand, and double braid ropes are the only lines that can be spliced properly. 3-Strand splicing looks quite a bit more intimidating than it really is. The end of the rope is untwisted until each of the 3 strands is just over a foot in length. Wrap a decent amount of tape at the tips of your strands; this will save you so much time and headache. At this point, if you need to capture a piece of hardware, such as a mounting bracket or dog leash snap, now is the time to feed the rope through it. Pick a spot farther in to start weaving the rope back into itself, how far down you go will determine your eye size. Open up a single point in the rope by twisting it the opposite way and feed one of your strands through the opening. Repeat this step around the rest of the rope inserting your two remaining strands. The rope should now have a quasi-squid appearance with a round head and 3 evenly spaced tentacles dangling. For the rest of the splice, the strands follow an under-over pattern down the rope until you have no more length left to tuck. This process is very difficult to relay through text so I will be including some instructional links down below.
The more strands a rope has, the more complex the splice becomes. The 8-strand splice is similar to the 3-strand splice in the sense that you are using almost nothing but your hands to deconstruct the rope and thread each individual strand back into the main line. On the other hand, 8-strand splicing is definitely as overwhelming as it looks. 5 more strands to keep track of can be a lot to handle so don’t be afraid to take your time or try the process more than once!
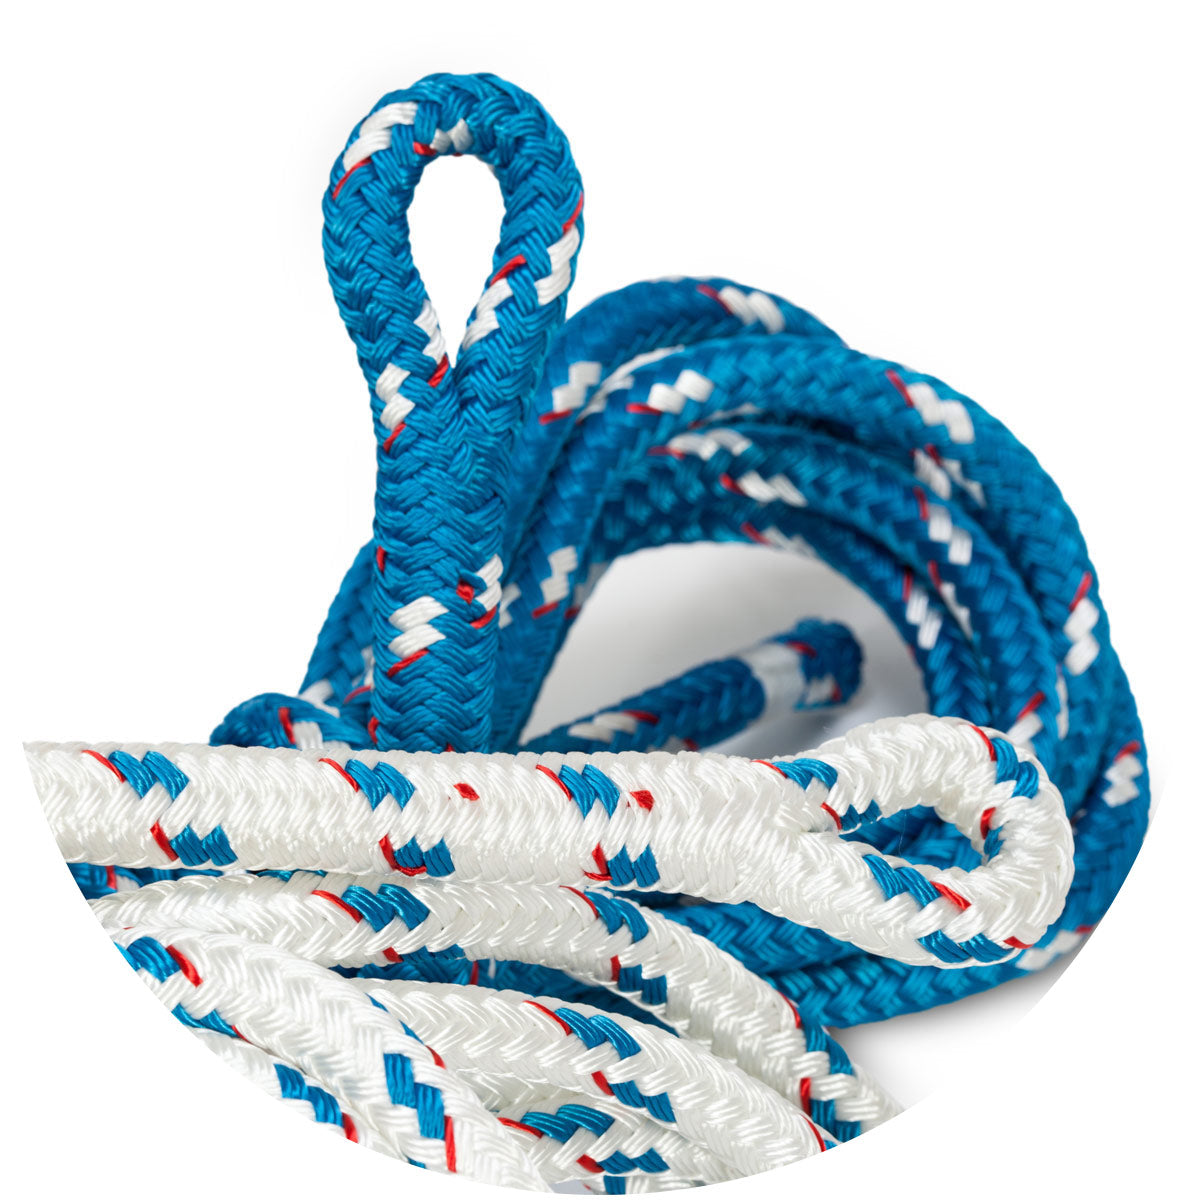
Double braid splicing, known to some as “the pinnacle of knot tying”, is far more complex than its 3 and 8-strand counterparts. Splicing double braid requires immense focus, a healthy balance of delicacy and strength, and sleight-of-hand finesse not attainable by the faint of heart. This process also requires a handful of tools you may not know much about. I will explain each of these tools’ purpose and functionality, but I will let the video show you how the actual splice is conceived.
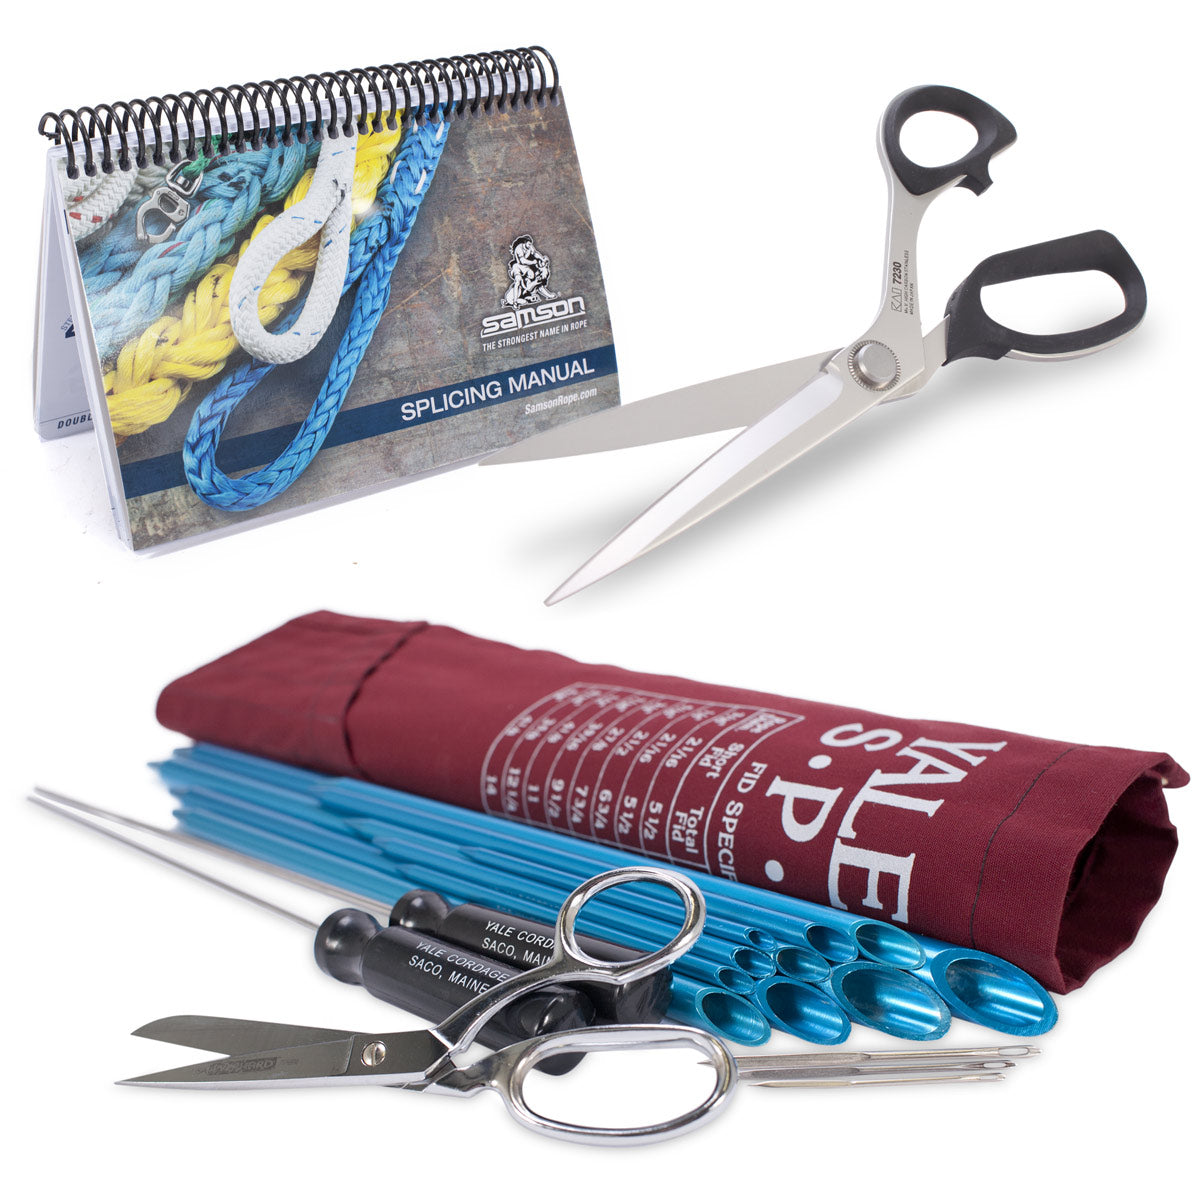
You are undoubtedly familiar with the first tools: a tape measure and scissors. The sharper the better, some of the synthetic fibers can be a little stubborn. I suppose now it’s worth mentioning that all double braid ropes are made using synthetic materials. To extract the core from the jacket, one of the first steps, you will need a Swedish fid or a large spike of some sort. This type of fid is made of metal that comes to a point with a plastic handle. It is used to carefully separate the strands of the jacket before digging inside to pry out the core. You will also need a tubular fid; these come in many sizes so make sure you choose the correct diameter. This fid has specific marks on it used to measure certain parts of the rope in a handful of the steps. Several times during this splice you will need to tape your working end securely to the tubular fid so you can slide the rope back through itself without snagging. The final tool, which you should be familiar with as well, is a sewing needle. Once your splice has been pulled tight, it needs to be stitched shut a few times to keep it from slipping out.
Splicing can be daunting at first, but like anything, it becomes far easier with practice. Whether you are working with 3-strand, 8-strand, or a double braid line, being able to create an eye splice is a worthwhile skill to have in your arsenal. Please enjoy these demonstrations, as they were a great help for me in my learning process.

Knot & Rope Supply